Editing parts
Fix, swap, view and name parts after a split. Every edit can be undone with Ctrl+Z.
Fill
Floods the clicked region into the selected part, stopping at creases sharper than Fill stop angle.
- Select the part that should grow (click it with the select tool, V).
- Press F (or pick Paint in the Split panel, then the fill tool), then click the region to add.
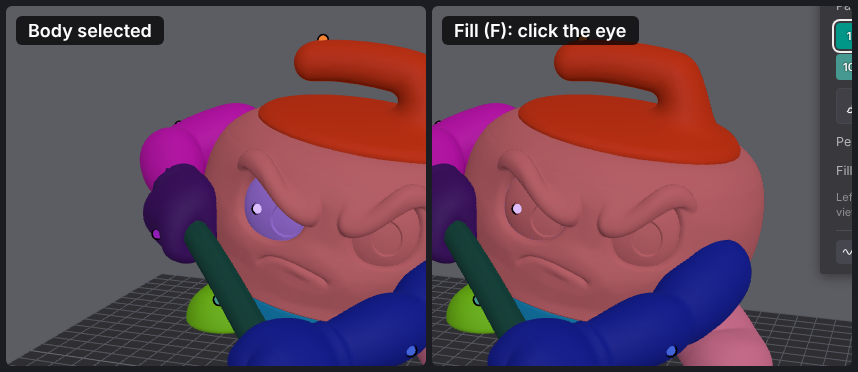
Right-click also offers Fill area into … and Fill all unassigned.
Brush
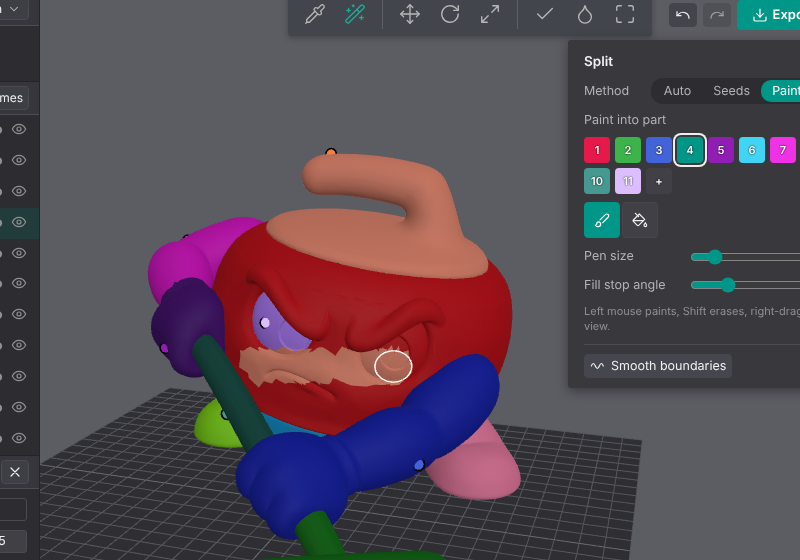
Paints faces into the selected part.
- Select the part, then press B (or pick Paint in the Split panel). The panel's numbered swatches pick which part you paint into.
- Set Pen size (mm) and drag over the model. Hold Shift to erase. Right-drag still rotates the view.
Merge
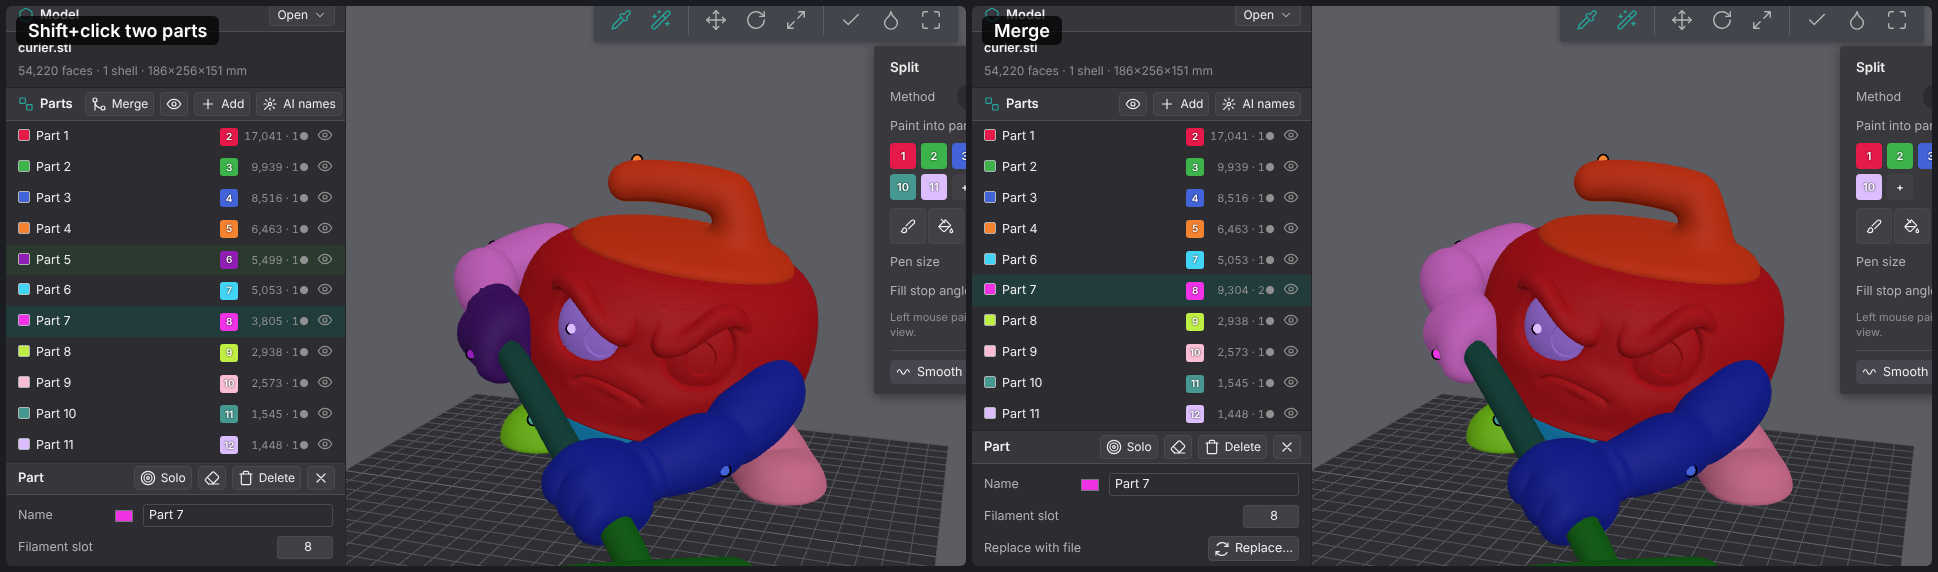
Joins parts into one.
- Click the part to keep (its name, color and filament stay).
- Shift+click the others, in the view or in the parts list.
- Click Merge above the parts list (or right-click > Merge … selected).
To remove a part instead, select it and press Del: its faces join the neighboring part.
Delete geometry
Removes a part's faces from the model itself (Del keeps them and hands them to a neighbor). Use it to drop a piece you don't want to print, such as a broom handle you will print separately.
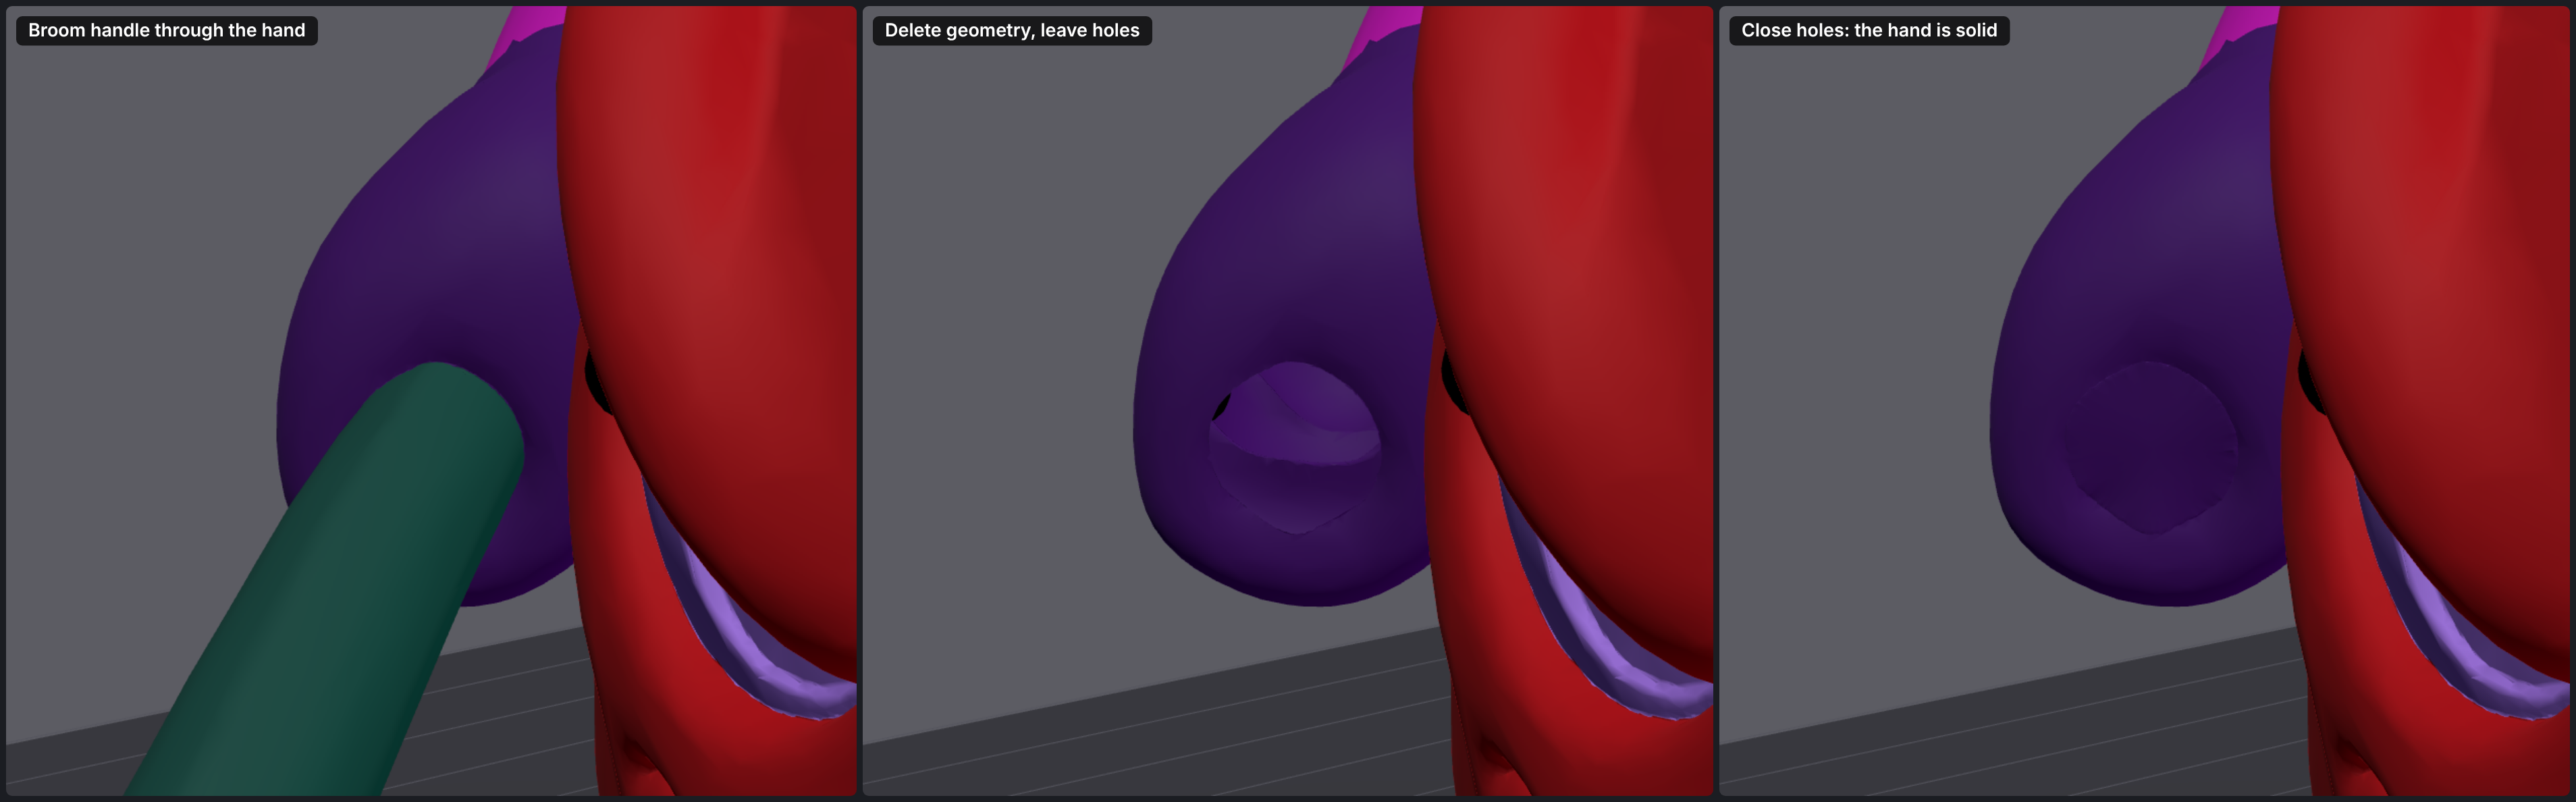
- Right-click the part > Delete geometry, close holes, select it and click Remove in the sidebar's Part section, or press Shift+Del. Each hole it leaves in a neighboring part is closed with a patch that follows that part's surface, in that part's color.
- Delete geometry, leave holes keeps the holes open. Right-click a part with holes > Close holes in this part to close them later.
- Undo (Ctrl+Z) brings the part back.
Replace with…
Swaps a part for another STL or 3MF. The replacement keeps the part's name and filament slot.
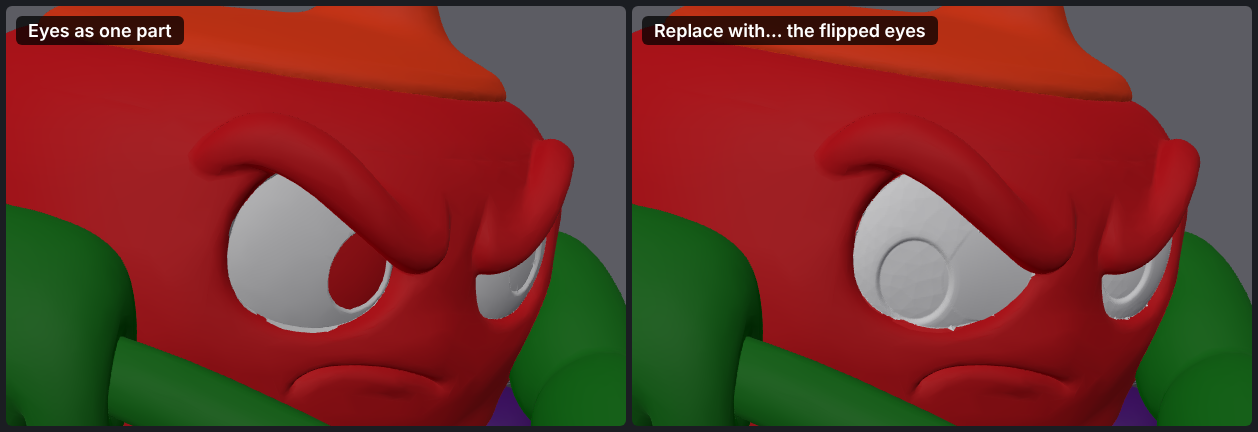
How to use it
- Right-click the part > Replace with… (or select it and click Replace… in the sidebar's Part section).
- Pick the file.
Where it goes
- In place: if the replacement was made from this same model (for example, the same eyes edited in another program), it has the same position and size as the old part. Mesh Splitter detects that and leaves it where it is, with in place ticked.
- On the joint: otherwise it is lined up on the old part's cut: one end of its long axis sits on the joint and its long axis follows the old part's. fit scales it to the old part's length, and embed sinks it into the rest by a few mm so the slicer fuses them.
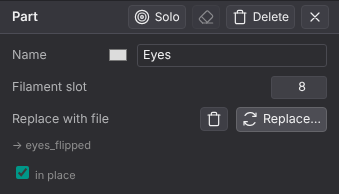
Adjusting it
- Flip: attach by the other end.
- Roll 90°: turn it about the joint axis.
- Pick joint: click the spot on the replacement that should attach. Click again to go back to auto.
- in place: switch between in place and on the joint.
- The move / rotate / scale handles work on the replacement too.
- The trash button next to Replace… removes the replacement and brings the old part back.
Show only this part
Hides every part except one, so you can check its shape and cut.
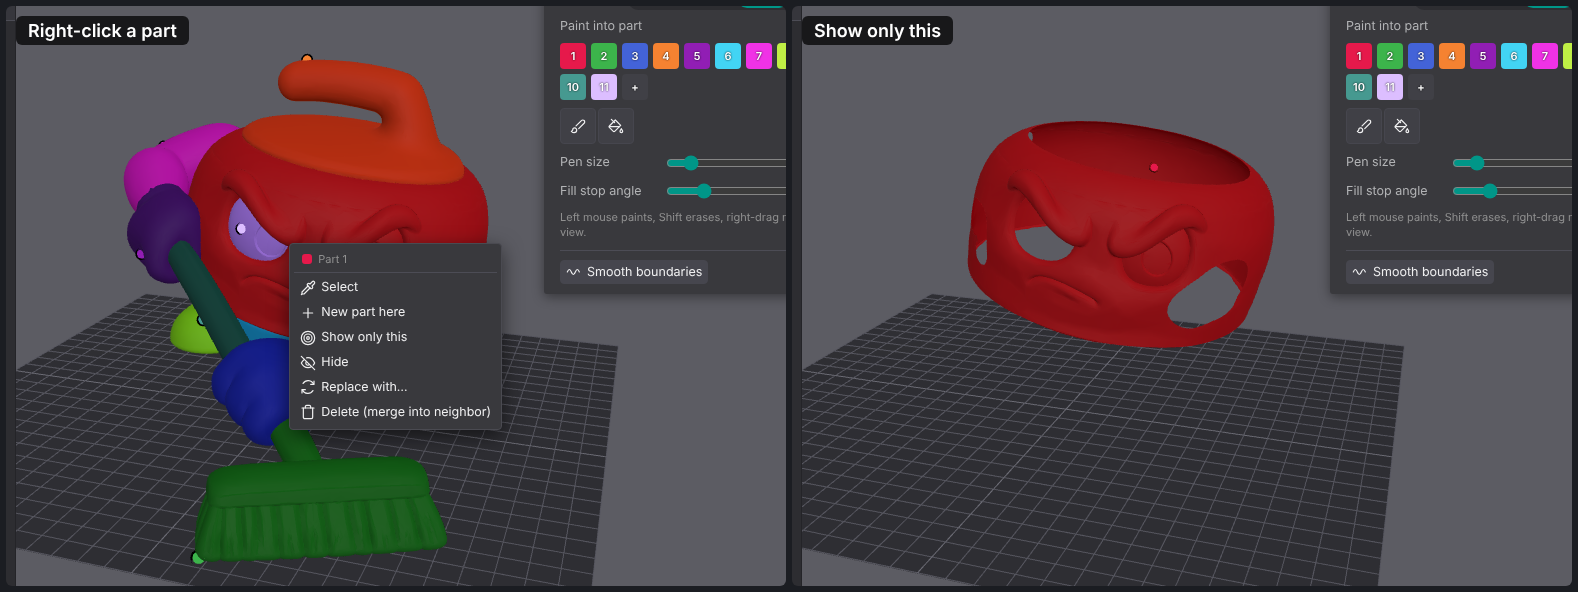
How to use it
- Right-click the part in the view or in the parts list > Show only this, or select it and click Solo in the sidebar's Part section.
- Do the same again (Show all again) to bring the other parts back as they were.
- The eye button at the top of the parts list shows all parts. The eye on each row hides or shows one part.
Tips
- With several parts selected (Shift+click), right-click a selected row > Show only these.
- Hidden parts are still exported. Hiding only changes the view.
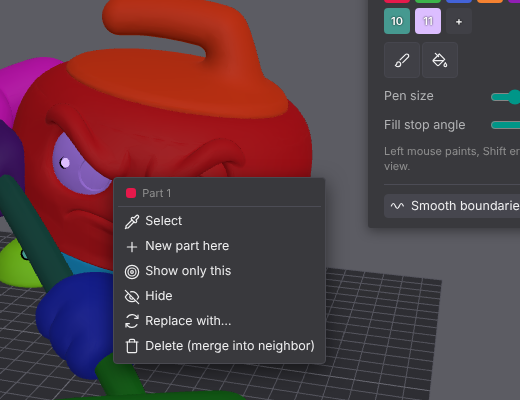
Rename
Parts start as Part 1, Part 2, … (or Shell 1, … after a shell split). Real names make the parts easy to find in OrcaSlicer, because each part keeps its name in the exported 3MF.
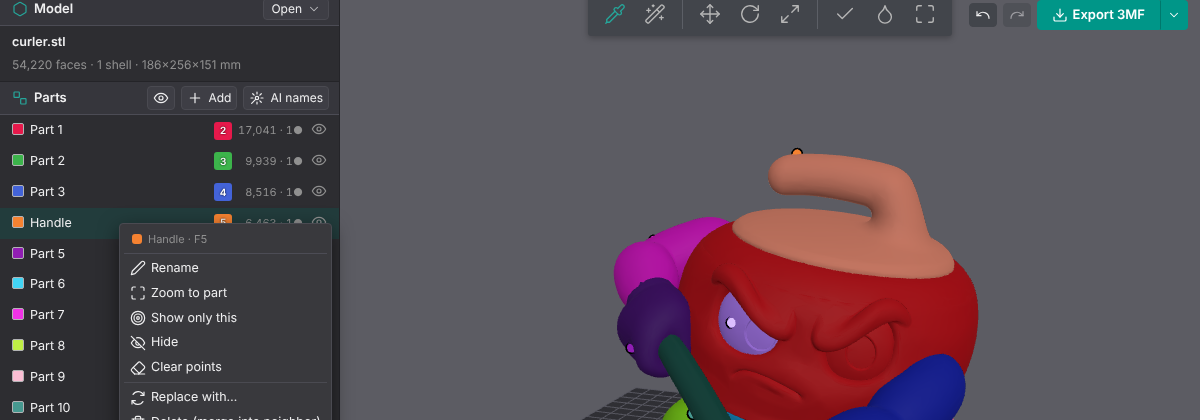
How to use it
- Select the part and type in the Name field of the sidebar's Part section, then press Enter.
- Or double-click the name in the parts list, or right-click the row > Rename. Enter saves and Esc cancels.
AI part naming can suggest names for all parts at once.