Exporting
Get the parts out as a 3MF or STLs, from OrcaSlicer or the browser.
Print as
Under the model's name, Print as says how the result prints. Send to Orca and the main Export button follow it.
| Print as | For | What you get |
|---|---|---|
| One part | Editing a model and printing it | The whole edited model as one part. In OrcaSlicer it stays on the original object's filament. Part colors only tell the parts apart, so the filament slots are hidden. |
| Painted | Editing a model, maybe coloring it | One part, with each part's faces painted with its filament (OrcaSlicer's color painting). |
| Parts | Splitting a model for multi-material | Each part as its own part on its own filament slot. |
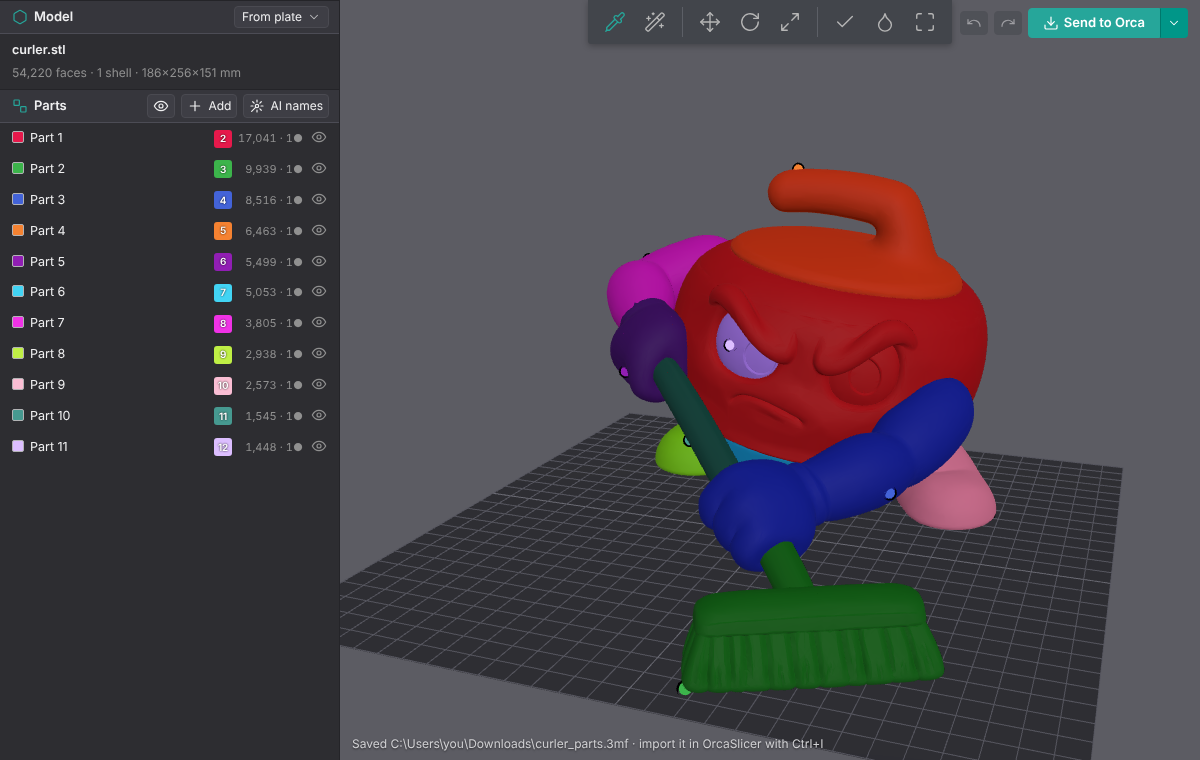
Filament colors (the droplet in the toolbar, or C) previews the print: in One part the whole model shows in one color (in OrcaSlicer, the original object's filament color), and in Painted and Parts each part shows in its filament slot's color.
It starts from how the model prints now. An OrcaSlicer object that is color-painted starts as Painted. One that already has several parts starts as Parts. Anything else starts as One part. Painted and Parts add any filament slots the project doesn't have yet, in the parts' colors.
Send to Orca
Inside OrcaSlicer, the main button is Send to Orca. It puts the edited model back on the plate as one object.
How to use it
- Install the plugin (see Install in OrcaSlicer) and open the Mesh Splitter tab.
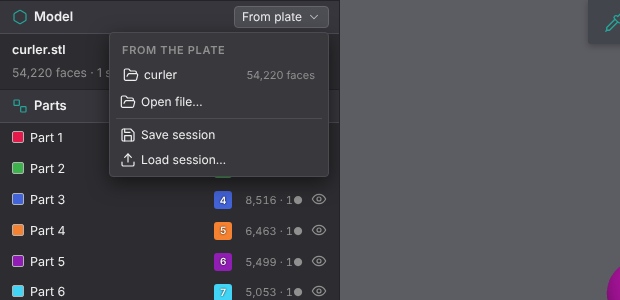
- Pick the object from the plate in the file menu. A single object on the plate opens by itself.
- Split it, then click Send to Orca, or pick an option from the arrow next to it:
- Add to plate (the main button): the split goes next to the original.
- Replace (object name): the split takes the original's place.
- Replace plate: the original's plate is cleared, and the split goes where the original was.
- Fill plate: the original's plate is cleared and filled with as many copies of the split as fit, 6 mm apart.
- OrcaSlicer asks how to open the file. Pick Open as project. If it offers to save the current project, No is fine: your unsaved changes are already in the new one.
What goes back depends on Print as.
How it works
OrcaSlicer's plugin API can read the plate but can't add or replace objects. So the plugin edits a copy of the open project, saves it to Downloads as <project> - Mesh Splitter.3mf, and hands it to OrcaSlicer the same way opening a file from your file manager does. Everything else in the project (other objects and plates, settings, paint) stays as it was.
- Pick Open as project. Import geometry only adds the whole project a second time.
- macOS: OrcaSlicer opens 3MF files from other apps in a new window, so the plugin only saves the file. Open it with File > Open Project.
- Multi-part 3MF to Downloads (in the arrow menu) still saves
<name>_parts.3mfon its own, to import with Ctrl+I.
Other exports
The arrow next to the main button (in the plugin and the browser) also offers:
-
Multi-part 3MF to Downloads (plugin only): the split as
<name>_parts.3mf, to import with Ctrl+I. -
Painted 3MF: the same mesh, each triangle painted with its part's filament.
- Part STLs (.zip): one closed STL per part, cut faces capped.
A part that is a recess (a porthole, an eye socket) can't be capped flat: that would make a solid of the air in it. Instead it gets a 1 mm skin of material behind its surface, and the part around it is closed over that skin, so the parts still add up to the original model. This applies to the multi-part 3MF and the part STLs while both parts are in place. - Merged STL: the whole model as one STL, with moved and replaced parts where you put them.
In the browser version the main button follows Print as: Export 3MF (one part), Export painted 3MF or Export parts 3MF (the multi-part 3MF).