Splitting
Three ways to turn one mesh into parts.
Auto split
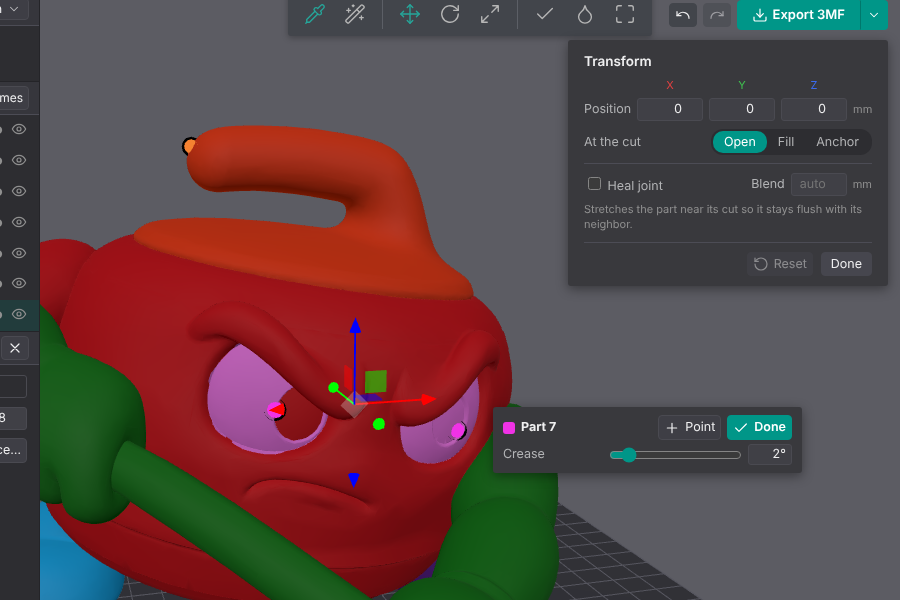
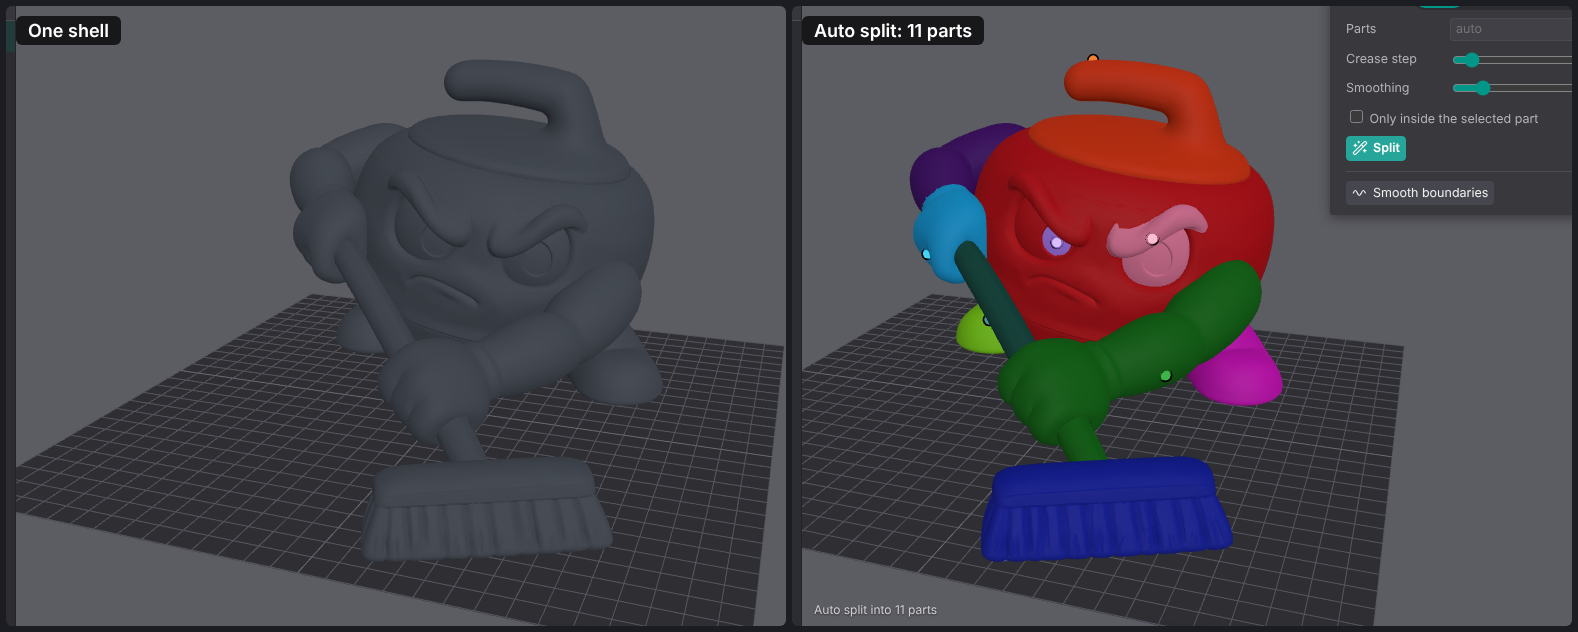
Splits the whole mesh into parts in one click. Cuts land on concave creases (the valleys where an arm meets a body, a handle meets a stone), so each part is a smooth piece of surface.
How to use it
- Open an STL or 3MF. A single-shell mesh is auto split as soon as it opens.
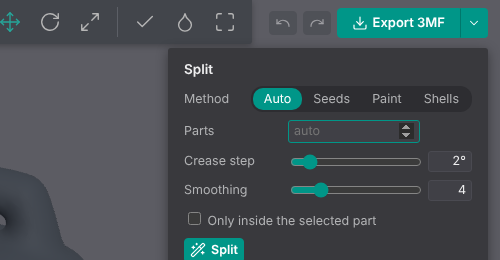
- To split again, click Split in the toolbar (or press A). The Split panel opens at the right of the view on Auto.
- Set Parts, or leave it empty to pick the count automatically. Tick Only inside the selected part to split just that part: its biggest piece keeps the part's name, color and filament slot, and the other pieces become new parts.
- Click Split.
Tips
- With the automatic count, it over-splits first, then merges neighbors whose shared edge isn't a real crease. For soft, rounded models (a plush toy) lower Crease below 2 before splitting so softer creases count.
- With a set count you get exactly that many parts.
- Opening a model fixes two things first, and the status bar says so: inside-out shells are turned right side out, and a mesh made mostly of long, thin triangles (a CAD export) gets its long edges split so the creases show. The surface doesn't change.
- Each part gets its own color and filament slot (F2, F3, …). Change either in the sidebar's Part section. The slots only show when Print as is Painted or Parts. In One part (the default for a plain STL) the colors only tell the parts apart, and the model prints on one filament.
- To refine the result, use seeds, fill, brush or merge. Every step can be undone with Ctrl+Z.
Split by shells
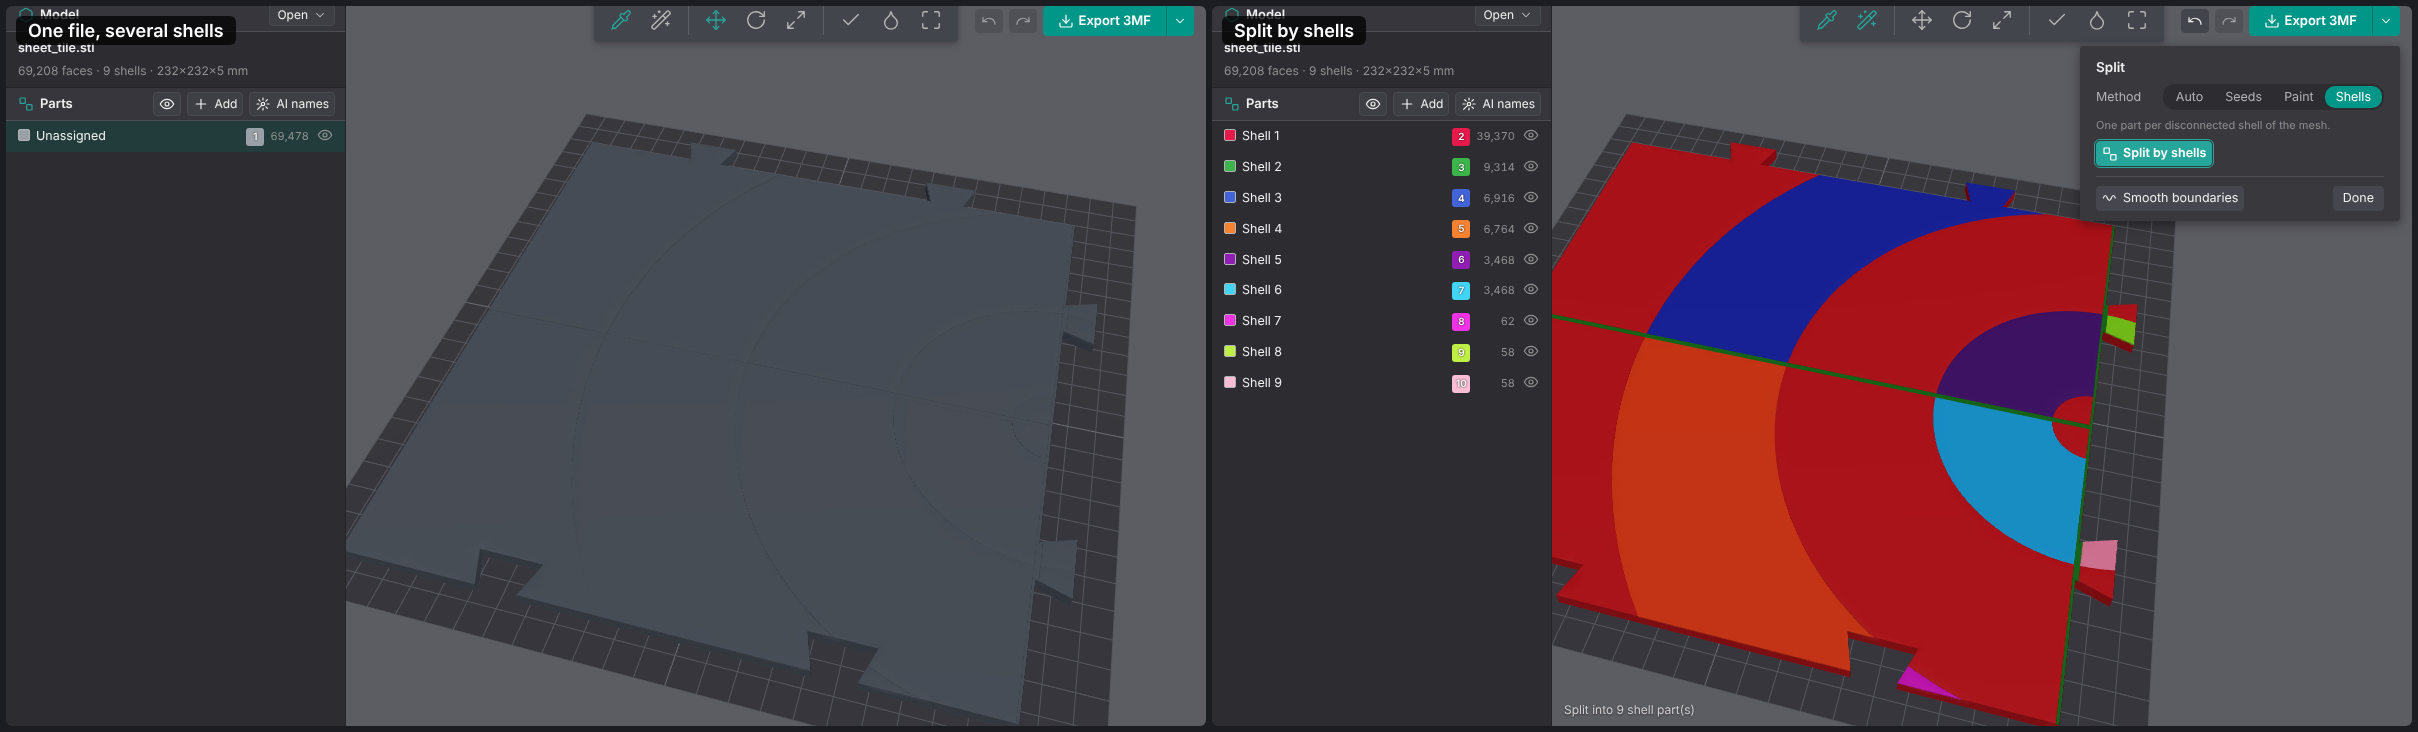
Makes one part per disconnected piece (shell) of the mesh. Use it for files that already hold separate bodies, such as a multi-color tile or an assembly exported as one STL. No crease detection runs.
How to use it
- Open the file. The header shows how many shells it has (for example
9 shells). - Click Split in the toolbar, pick Shells, then click Split by shells.
- Each shell becomes a part named
Shell 1,Shell 2, … with its own filament slot.
Tips
- A mesh with one connected shell can't be split this way. Use auto split or seeds instead.
- To print the shells in different colors, set Print as to Parts. To print several shells in the same color, select them and merge them, or give them the same filament slot.
Seeds and Add part
Pick exactly where each part is. Each seed grows across the surface until it meets a crease or another part.
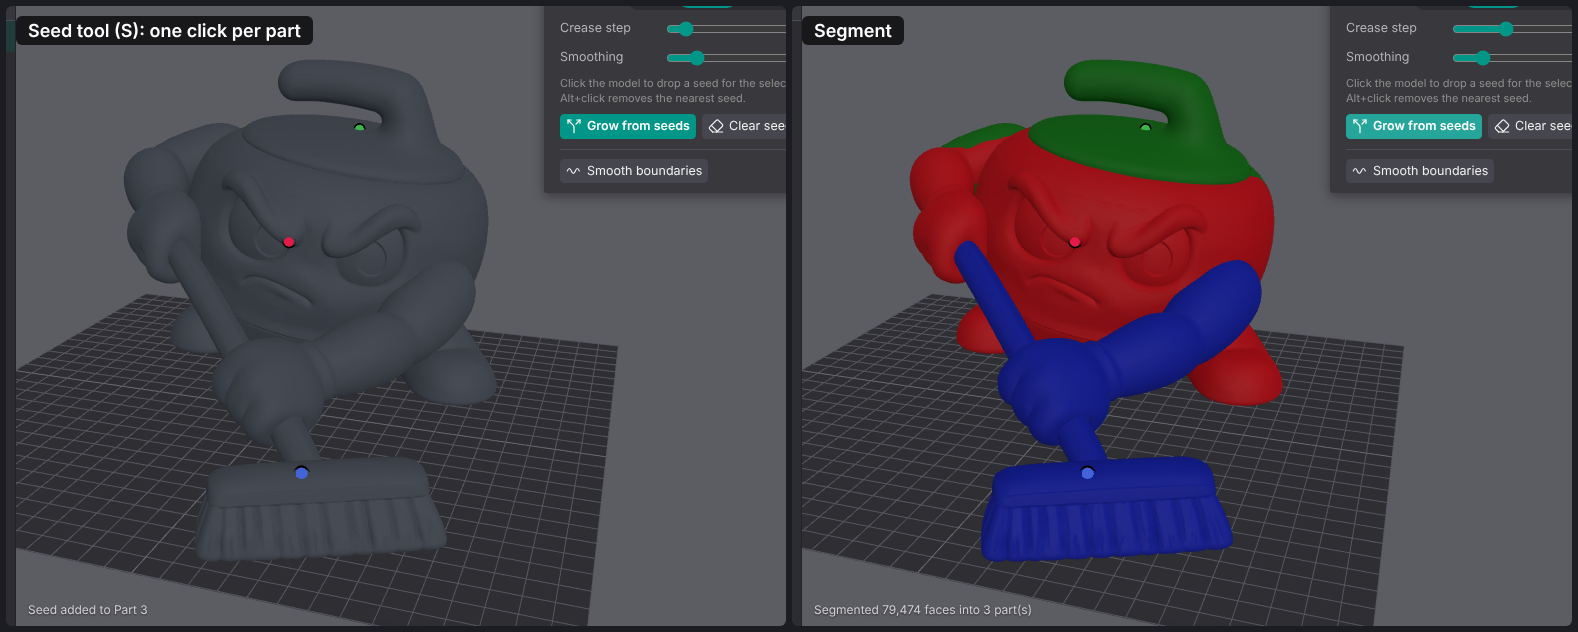
Seed tool
- Press S (or pick Seeds in the Split panel).
- Click the model once per part. A click with no part selected starts a new part; with a part selected, it adds another seed to that part. Press Esc to deselect before starting the next part. Alt+click removes the nearest seed.
- Click Grow from seeds.
Options:
- Crease: how sharp a concave crease must be to separate parts. Lower splits at softer creases; 0 uses surface distance only.
- Denoise: smooths the crease map so small dents don't count.
- Clear all seeds (eraser) removes every seed.
Add part (guided)
The + button above the parts list adds one part at a time:
- Click +, then click the model where the new part is. It grows right away.
- If it missed an area, click Point and click that area too.
- Drag Crease to grow it more or less, then click Done.